Spring Boot + 虚拟线程实现的二维码生成器
原创大约 3 分钟
Spring Boot + 虚拟线程实现的二维码生成器
随着 Java 21 的发布,虚拟线程(Virtual Threads)成为了正式特性,彻底改变了 Java 的并发编程方式。它们为传统线程提供了更轻量、更易扩展的替代方案,让开发者能够编写出更加简洁高效的并发代码。
虚拟线程
虚拟线程为异步 Java 开发带来了革命性的变化。它们让 JVM 拥有了类似 Go 的并发能力,使高吞吐量应用的代码结构更加简洁、易于维护。如果你正在开发 Web 服务、文件处理器或任何 I/O 密集型应用,虚拟线程会成为你的得力助手。
虚拟线程是由 Java 虚拟机(JVM)直接管理的轻量级线程,而不是由操作系统管理。与平台线程(也称为内核线程或本地线程)相比,平台线程的创建和管理成本较高,而虚拟线程则极为廉价,可以轻松支持成千上万甚至上百万的并发线程。
虚拟线程依然基于熟悉的 java.lang.Thread API,这意味着你无需学习新的并发模型或库。
传统线程与操作系统线程是一一对应的:
- 每个 Java 线程对应一个操作系统线程
- 阻塞线程(如 I/O 操作)会占用操作系统资源
而虚拟线程采用多对一模型,允许大量虚拟线程共享少量操作系统线程。当虚拟线程遇到阻塞操作(如 sleep() 或 read())时,JVM 会自动挂起该线程,让底层的承载线程去执行其他任务。
虚拟线程项目示例
下面的代码演示了如何配置 Tomcat(Spring Boot 默认的 Web 服务器)使用虚拟线程来处理请求任务,替代传统的平台线程。
@SpringBoojtApplication
@Configuration
public class DemoApplication {

 public static void main(String[] args) {
  SpringApplication.run(DemoApplication.class, args);
 }

 @Bean
 public TomcatProtocolHandlerCustomizer<?> protocolHandlerVirtualThreadExecutorCustomizer() {
  return protocolHandler -> {
   protocolHandler.setExecutor(Executors.newVirtualThreadPerTaskExecutor());
  };
 }
}
创建生成二维码的接口:
@RestController
@RequestMapping(path = "/api/qr")
public class QrController {

    private final QRCodeWriter qrWriter = new QRCodeWriter();
    private final Map<String, byte[]> store = new ConcurrentHashMap<>();


    @GetMapping("/generate")
    public ResponseEntity<String> generate(@RequestParam("text") String text,
           @RequestParam(value = "size", defaultValue = "250") int size) {

        try {
            byte[] pngBytes = encodeToPng(text, size, size);

            System.out.println(">>> in virtual thread: " + Thread.currentThread());

            String id = UUID.randomUUID().toString();
            store.put(id, pngBytes);

            return ResponseEntity.ok(id);
        } catch (Exception e) {
            return ResponseEntity.internalServerError().body("Error: " + e.getMessage());
        }
    }


    @GetMapping("/get/{id}")
    public ResponseEntity<byte[]> getQRCode(@PathVariable String id) {
        byte[] png = store.get(id);
        if (png == null) {
            return ResponseEntity.notFound().build();
        }
        return ResponseEntity.ok()
                .contentType(MediaType.IMAGE_PNG)
                .body(png);
    }


    private byte[] encodeToPng(String text, int width, int height) throws Exception {
        BitMatrix matrix = qrWriter.encode(text, BarcodeFormat.QR_CODE, width, height);
        try (ByteArrayOutputStream baos = new ByteArrayOutputStream()) {
            MatrixToImageWriter.writeToStream(matrix, "PNG", baos);
            return baos.toByteArray();
        }
    }
}
创建交互界面:
<!DOCTYPE html>
<html lang="pt-BR">
<head>
  <meta charset="UTF-8" />
  <title>Gerador de QR Code</title>
  <style>
    body {
      font-family: Arial, sans-serif;
      text-align: center;
      margin-top: 50px;
    }
    input, button {
      font-size: 1rem;
      padding: 8px;
      margin: 5px;
    }
    img {
      margin-top: 20px;
      border: 1px solid #ccc;
    }
  </style>
</head>
<body>
  <h1> QR Code Generator</h1>
  <p>Write a text and click in the button to show a QR Code.</p>

  <div>
    <input type="text" id="textInput" placeholder="Texto para QR Code" size="40" />
    <input type="number" id="sizeInput" value="250" min="50" max="1000" step="50" />
    <button id="generateBtn">Generate</button>
  </div>

  <div id="qrcodeContainer">

  </div>

  <script>
    const generateBtn = document.getElementById('generateBtn');
    const textInput = document.getElementById('textInput');
    const sizeInput = document.getElementById('sizeInput');
    const qrcodeContainer = document.getElementById('qrcodeContainer');

    generateBtn.addEventListener('click', () => {
      const text = encodeURIComponent(textInput.value.trim());
      const size = parseInt(sizeInput.value) || 250;

      if (!text) {
        alert('Please write text to generate QR Code.');
        return;
      }

fetch(`http://localhost:8080/api/qr/generate?text=${text}&size=${size}`)
        .then(response => {
          if (!response.ok) {
            throw new Error('Error on generate QR CODE');
          }
          return response.text();
        })
        .then(id => {
          const imgUrl = `/api/qr/get/${id}`;

          qrcodeContainer.innerHTML = `
            <p>ID QR ID: ${id}</p>
            <img src="${imgUrl}" alt="QR Code" />
          `;
        })
        .catch(err => {
          console.error(err);
          alert('Error: ' + err.message);
        });
    });
  </script>
</body>
</html>
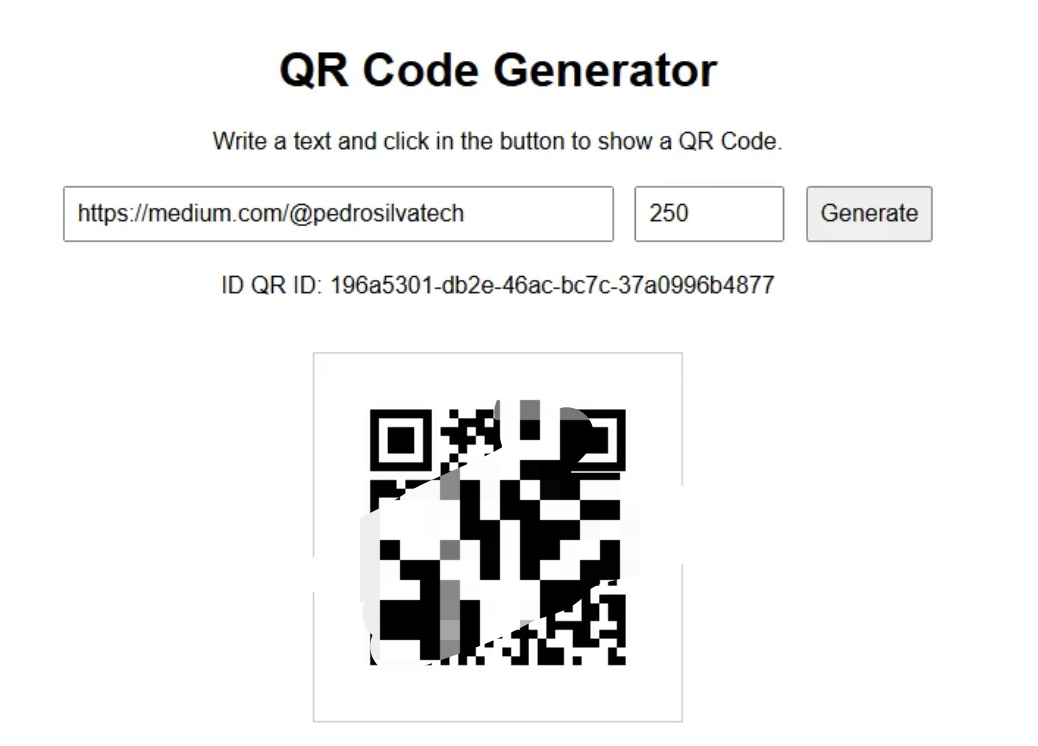
运行效果: